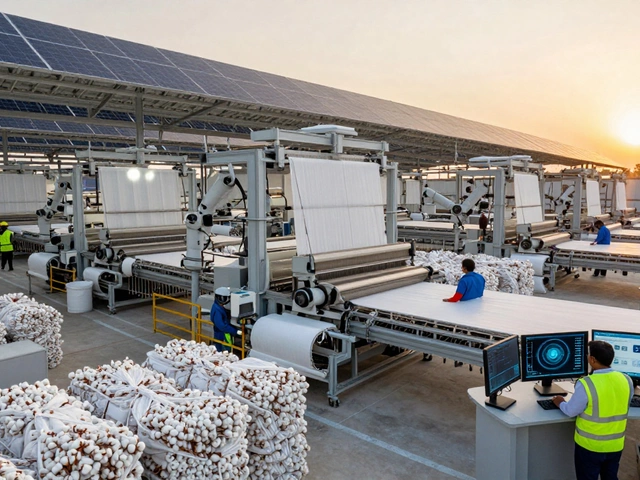
Ever wonder why the apple juice in your fridge never comes out cloudy, or how a bag of chips always tastes the same? That’s all thanks to something called unit operations—the basic steps every food has to go through to turn from raw and sometimes dirty ingredients into something you actually want to eat. In food processing, these steps are like the building blocks for getting food safe, tasty, and ready for store shelves.
If you work in a plant, or even cook at home, you’re already using some of these operations without knowing it. Washing potatoes? That’s a unit operation. Boiling pasta? Another one. The trick in the food industry is scaling all this up and making sure each part works exactly the same every time, whether you’re handling a single loaf of bread or thousands rolling off a conveyor belt. Stick around—understanding these steps can make your food safer, help it last longer, and maybe even save you some money, whether you’re in the business or just making dinner.
- What Are Unit Operations in Food Processing?
- Cleaning and Sorting: Where It All Begins
- Mixing and Blending: Combining Flavors and Formulas
- Heat Processing: Cooking, Pasteurizing, and Sterilizing
- Separation Processes: Filtering, Centrifuging, and More
- Packaging and Storage: Keeping It Safe and Fresh
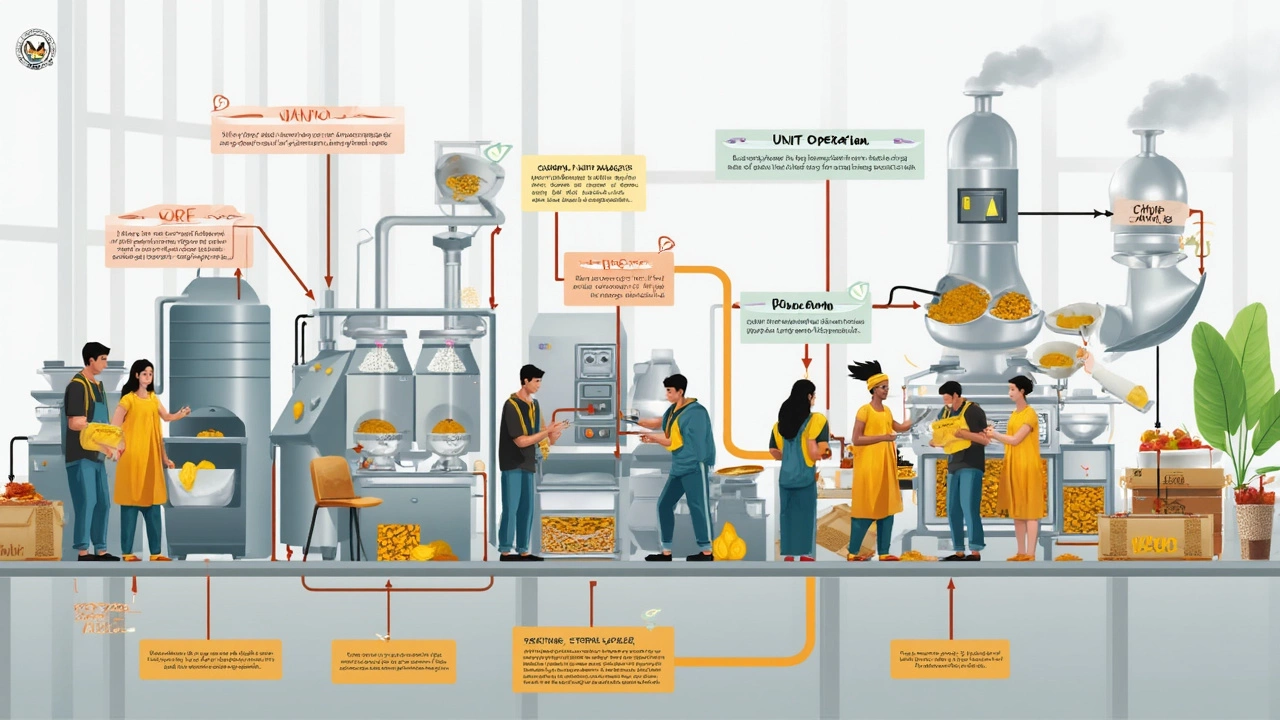
What Are Unit Operations in Food Processing?
Think of unit operations as the core steps that happen in almost every food processing plant worldwide. These aren’t recipes, and they’re not just one technique—they’re specific actions or routines that take food from its raw state all the way to something you feel good eating or selling. Each operation is like a Lego block: simple by itself, but together they build everything from canned beans to chocolate bars.
So what really counts as a unit operation? It’s any single, repeatable step used to make food cleaner, safer, or easier to handle. This covers everything from physically moving food (think conveying belt lines), washing, crushing, chopping, cooking, freezing, to mixing. Even tiny details, like sifting flour to get rid of clumps, count as unit operations. They’re designed so the process runs smoother, batches come out consistent, and safety stays on point.
- Unit operations are based on physical changes (like cutting or freezing), not chemical changes (like fermenting or ripening).
- You’ll see the same unit operations repeated in different industries—cheese, bread, juice, all use washing, mixing, or heating at some stage.
- One cool fact: the order and type of these operations have a massive impact on food quality, cost, and shelf life.
| Common Operation | Main Goal | Typical Equipment |
|---|---|---|
| Washing | Remove dirt/germs | Rotary washers, spray washers |
| Cutting/Chopping | Uniform pieces | Slicers, dicers, choppers |
| Mixing | Consistent recipe | Mixers, blenders |
| Heating | Cook/kill microbes | Ovens, pasteurizers, retorts |
| Cooling/Freezing | Preserve/stop spoilage | Blast freezers, chillers |
Each operation is tracked closely—imagine needing your juice pasteurized at just the right time and temperature to keep the flavor but kill unwanted bugs. Get one step wrong, and the whole batch can get wasted. That's why even small food factories use flow charts to track every operation. Mastering these basics is the only way to guarantee food that’s safe, tasty, and cost-efficient.
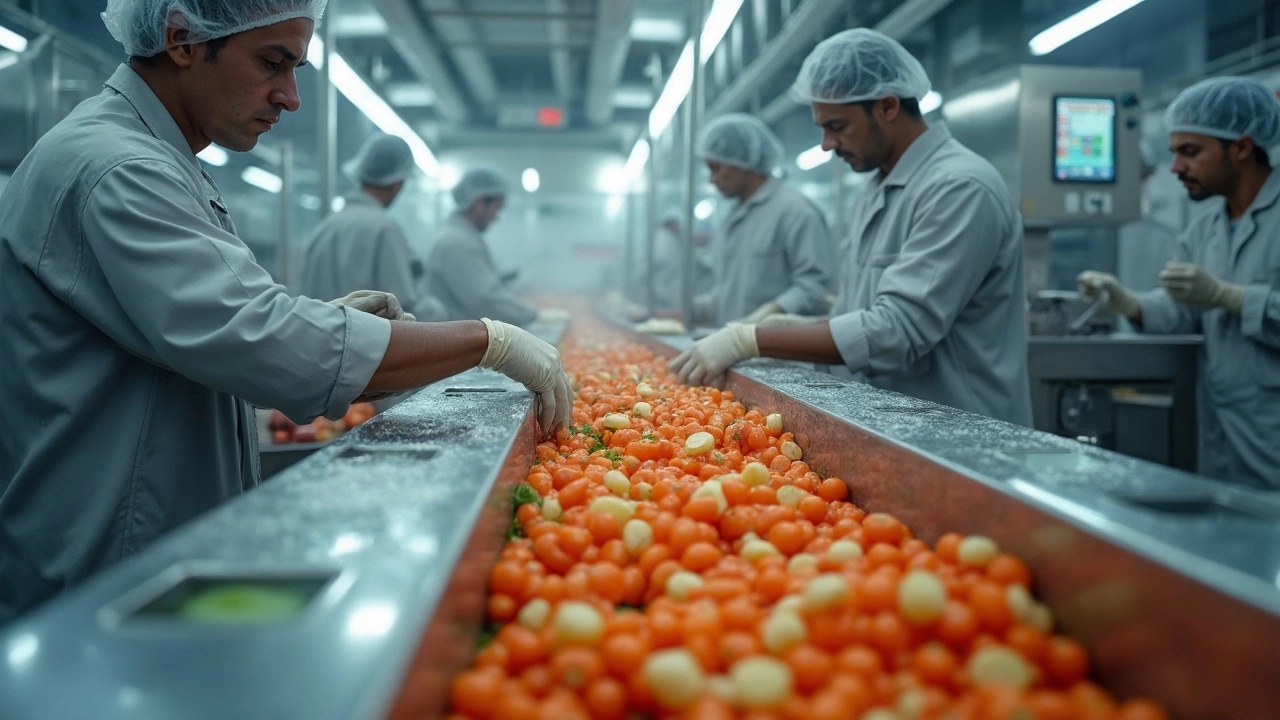
Cleaning and Sorting: Where It All Begins
The first step in any food processing plant is getting rid of the stuff you don’t want. Think rocks in peas, sticks mixed with nuts, or even bugs hanging out in grains. Cleaning and sorting is all about making sure the raw materials are actually usable and safe to eat. Miss this step, and you could ruin a whole batch, face customer complaints, or worse—trigger a recall.
Cleaning methods aren’t just about washing with water. They can be dry or wet, depending on what you’re processing. Here are the most common ones:
- Washing with water: Used for fruits and vegetables. High-pressure sprays knock off dirt and pesticides.
- Air blowing: Great for grains and nuts—blasts away dust and lightweight debris.
- Brushing or abrasion: Machines rub off the dirt, especially for potatoes or root crops.
- Screening: Uses different-sized holes to separate pebbles, broken bits, or unwanted materials.
Once food is clean, it gets sorted. Sorting is about finding the good from the bad, and it’s way quicker than you could ever do by hand. Technology steps in with cameras, lasers, and sensors that can spot discolored apples or oddly shaped beans in a flash. Some sorting methods sort by size, some by shape, some even by color or ripeness.
Here’s a quick glance at how much stuff actually gets removed at this stage:
| Type of Food | Average Unwanted Material Removed (%) |
|---|---|
| Grains | 2-5% |
| Root Vegetables | 5-10% |
| Fruits | 3-8% |
If you’re running your own operation, keep the wash water fresh and maintain those brushes or screens. Blocked or dirty equipment can undo all your hard work. Regular checks matter—nobody wants grit in their salad or rotting bits sneaking into the mix.
Mixing and Blending: Combining Flavors and Formulas
If you’ve ever wondered how mayonnaise comes out so smooth, or how a jar of salsa looks perfectly even, it’s all about the mixing and blending. These steps make sure every bite tastes the same, and that all the flavors and ingredients are blended just right. In food factories, machines do a lot of the work, but the right mix matters everywhere—even in your kitchen.
In the world of food processing, mixing means combining two or more raw materials together, and blending is when those ingredients are mixed to make an even, uniform product. Sometimes it’s just dry ingredients, like making cake mix. Other times, it’s about getting oil and water to mix, like in salad dressings or sauces.
Let’s break down the types of mixers you’ll find in food plants:
- Ribbon blenders: Great for powders and granules. Think spices, flour, or baking powder. These have ribbons inside that tumble ingredients around.
- Paddle mixers: These move slowly and are gentle. Perfect for things that bruise easily or need a soft touch, like salad greens or soft cheese mixes.
- High-shear mixers: Used when you have to make stuff like mayonnaise or cream cheese. They work fast and break everything down to make super-smooth mixtures.
- Continuous mixers: Perfect when there’s no time to stop. Think bread dough, where you need a constant flow.
Small mistakes here can get expensive fast. Picture a salad dressing that separates after a week, or a ketchup that’s clumpy instead of smooth. Food plants use timers, speed controls, and even sensors to make sure every batch turns out the same, every time. If a product isn’t mixed right, it might not just taste weird—it could even be unsafe to eat if ingredients aren’t distributed evenly, like salt used as a preservative.
| Product | Mixing/Blending Method | Time (Approx.) |
|---|---|---|
| Bread Dough | Continuous Mixer | 8 minutes |
| Mayonnaise | High-Shear Mixer | 5-10 minutes |
| Powdered Soup Mix | Ribbon Blender | 15 minutes |
| Granola | Paddle Mixer | 7 minutes |
Here’s a pro tip: mixing order matters. Dumping wet ingredients on top of dry ones isn’t the same as adding dry to wet. Most plants have strict recipes where the order, speed, and even the temperature are all controlled by computers. If you’re blending at home, try adding dry to wet for a smoother batter; the pros do it for a reason.
So next time you pour a perfectly smooth yogurt or spoon out peanut butter that hasn’t separated, you’ll know there’s a good chance a mixer somewhere did its job right—and that’s not just good news for taste, but for safety and storage too.
Heat Processing: Cooking, Pasteurizing, and Sterilizing
Heat processing is where food safety meets longer shelf life. This part covers everything from frying and baking to the less obvious stuff like pasteurizing your milk or sterilizing canned beans. The big idea? Use heat to kill bacteria and other nasties so the food doesn’t spoil or make anyone sick.
The most common types of heat processing in food plants include:
- Cooking: Not just for taste! Cooking helps break down certain parts of food, making it easier to digest and safer to eat. Think of boiling, roasting, frying, or baking. For example, baked bread goes from gooey batter to a firm, tasty loaf because of the heat.
- Pasteurizing: This one shows up in dairy, juice, and even beer. It uses moderate heat for a set time to kill harmful microbes without ruining the food’s flavor. Standard milk is heated to 72°C (161°F) for at least 15 seconds. It’s a careful balance—hot enough to zap germs, but not so hot that it tastes burnt.
- Sterilizing: When you see canned soup or shelf-stable milk, it’s been sterilized—meaning heated to kill every last microbe, good or bad. Most canned foods are heated to at least 121°C (250°F) for 15-20 minutes under pressure. That way, they can last for years without a fridge.
Here’s a quick look at common temperature and time combos for these methods:
| Unit Operation | Typical Temp (°C) | Time | Main Use |
|---|---|---|---|
| Cooking (baking bread) | 180-220 | 20-40 minutes | Bread, cookies |
| Pasteurization | 72 | 15 seconds | Milk, juice |
| Sterilization | 121 | 15-20 minutes | Canned foods |
Here’s a cool fact: the unit operations around heat are responsible for saving millions from foodborne illnesses. Before pasteurization came around, milk was a major source of diseases like tuberculosis and typhoid. These days, outbreaks from pasteurized products are super rare.
Tip for anyone in the kitchen or on the line—always double-check the target temp and timing. Cutting corners might save a few minutes but can ruin flavor or let bacteria sneak through. Food businesses use sensors and recorders to keep every single batch safe, and there are good digital thermometers for home cooks too.
If you’re looking to scale up your processing, remember: Consistency is everything. Whether it’s grandma’s apple pie or a thousand jars of jam, matching time and temperature exactly is what keeps food safe and shelf-stable.
Separation Processes: Filtering, Centrifuging, and More
When you’re talking about food processing, separation processes are where science meets practicality. Basically, this is the part where unwanted stuff gets kicked out of the food—like seeds, pulp, water, or even bits of bone. Without smart separation, orange juice would be chunky and milk would go sour a lot faster.
Filtering is the classic move. Think of the industrial-scale version of pouring coffee through a paper filter. In a juice plant, massive screens and mesh filters trap seeds and bits, leaving clear juice behind. Cheese-making gets even wilder: whey gets separated from curds in huge vats by draining or using filters, turning liquid milk into blocks of cheese.
Centrifuging cranks things up a notch. This gadgets spins stuff so fast that heavy particles (like fat in milk) zip one way, while the lighter stuff (like skim milk) shoots another. That’s exactly how we get cream and skim milk—they’re not magic; they’re just spun apart. Some milk plants process up to 10,000 liters an hour using centrifuges. No one wants to wait around for gravity to do the job slowly.
And there’s more to it. Decanting—slowly pouring liquid off the top to leave heavy solids behind—is still used in food processing, mostly for things like oils. Membrane filtration (think fancy filters with super tiny holes) helps remove bacteria from beverages without needing heat, keeping flavors fresher. Breweries use this kind of tech to get super clear beer every single time.
“Centrifugal separation remains the backbone of dairy and beverage processing, making quick work of what used to be long, messy manual jobs,” says Dr. Helena Suarez from the European Food Processing Institute.
Most plants use a combo of these methods depending on the final product. For example, tomato paste making starts with filtering and ends with evaporation to get rid of extra water. Wheat flour manufacturers use air separation—fans blow away lighter particles or chaff so only the good flour remains.
| Operation | What It Removes | Common Foods |
|---|---|---|
| Filtering | Solids (seeds, pulp, fine particles) | Juices, sauces, dairy |
| Centrifuging | Fat, liquids from solids | Milk, cream, oils |
| Membrane Filtering | Bacteria, small particles | Beer, wine, juices |
| Decanting | Liquid from settled solids | Oils, wine, vinegar |
If you work in the industry, you know skipping a step here means big problems later. Bad separation can leave behind bits that spoil food faster or mess up the texture. Tip: always check filter meshes or centrifuge speeds are exactly what your recipe needs—changing them can totally alter your product, and not always in a good way.
Packaging and Storage: Keeping It Safe and Fresh
Once the food’s been washed, heated, pasteurized, or blended, it’s not ready for your dinner table or the supermarket just yet. Food processing has another huge step: getting everything packed and stored in a way that keeps it safe, tasty, and free from germs or spoilage. Sounds simple, but packaging and storage can make or break a product. A bad seal or the wrong storage spot can ruin months of work in seconds.
Packaging isn’t only there so your chips look good on Instagram. It locks out air, moisture, and bacteria, all of which can spoil the food. Different foods need different types of packaging. For instance, milk usually goes into sterile cartons, potato chips use those firm, air-filled bags, and frozen veggies get vacuum-sealed plastic so they don’t get freezer burn. Some products—like canned tomatoes—can last years, thanks to their packaging. Fun fact: modern cans can keep food safe for more than two years if stored right.
Storage goes hand in hand with packaging. Factories must keep finished food at just the right temperature to stop bacteria and molds from growing. For example, most dairy stays below 4°C (about 39°F) until it hits the store. Dry foods, like cereal, avoid humid spaces to stop mold and clumping. And let’s be real—who wants sticky, stale cereal?
- Refrigerated storage: Used for dairy, meats, and ready-to-eat meals.
- Frozen storage: Keeps things like ice cream or veggies fresh for months.
- Ambient storage: For shelf-stable goods like canned beans or snacks.
If you’re stuck between packaging options, there’s a quick rule: Always pick something that’s airtight and easy for customers to open (without needing to wrestle it open like a jar of pickles). Some companies test new materials every year—looking for packaging that’s cheaper but still keeps food just as fresh.
Here’s a quick look at how different foods are stored and shipped:
| Food Type | Common Packaging | Storage Temperature | Typical Shelf Life |
|---|---|---|---|
| Milk | Carton, PET bottle | Below 4°C | 5–14 days |
| Potato Chips | Laminated bags | Room temp (cool, dry) | 3–6 months |
| Tomato Sauce (Canned) | Steel can | Room temp (dry) | 1–2 years |
| Frozen Peas | Vacuum-sealed plastic | Below -18°C | 8–12 months |
| Bread | Plastic bag | Room temp or refrigerated | 3–7 days |
If you want food to last, don’t skimp on packaging or get lazy with storage. Check seals every batch and monitor warehouse conditions—a couple of degrees either way can turn a good batch into a truckload of returns. It’s these final steps that keep food safe to eat, fresh, and tasting good until it finally lands on someone’s plate.